
Fuel Conditioning Module / Fuel Filter Module Circuit and Performance Faults
Fuel conditioning module faults are isolated by testing each circuit and pressure drop at the module before unit replacement.
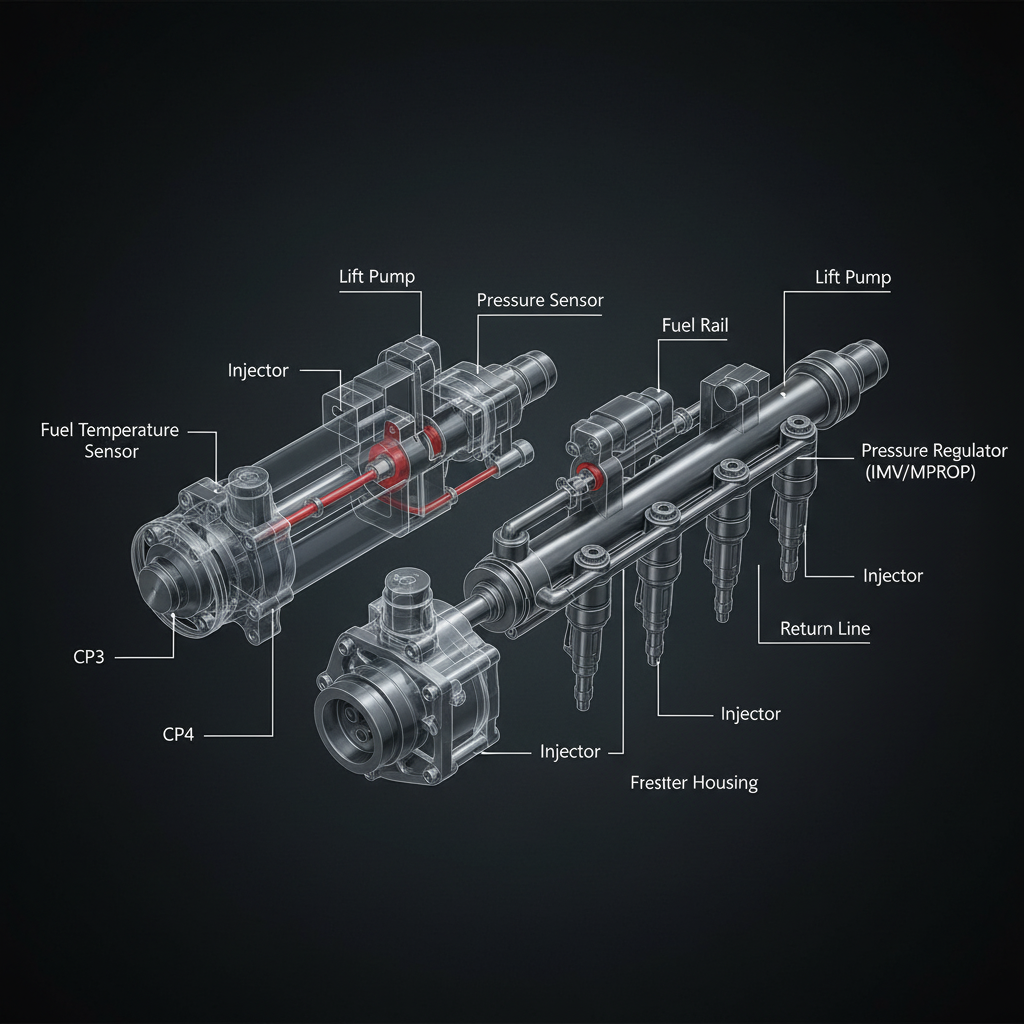
Fault Overview
Covers circuit and performance faults related to the integrated fuel conditioning module — filter, heater, WIF sensor, and sometimes lift pump in one assembly. Codes may involve heater, sensor, or module communication.
Engine & Platform Coverage
Symptoms
- •Fuel conditioning module fault code
- •Fuel filter module fault
- •Integrated fuel module code
- •Fuel heater circuit fault
- •Module water sensor fault
Possible Causes
- 1.Failed fuel heater element or relay
- 2.WIF sensor fault within the module
- 3.Internal restriction
- 4.Wiring or connector issues at the module
- 5.Module internal electronic failure
- 6.Incorrect module installed
Wiring & Circuit Notes
Inspect the multi-pin connector at the module for corrosion, oil, or fuel contamination. Check power, ground, heater control, and sensor circuits individually. Heater element failures and connector corrosion are frequent.
DVOM Specs & Sensor Tests
Heater resistance and current draw. WIF sensor parameters as on dedicated sensors. Supply pressure into and out of the module. Voltage at each pin under command.
Diagnostic Flow — FSM Sequence
AI Diesel Tech enforces this evidence-gate sequence. Each gate must pass before advancing.
6 steps locked behind Technician Mode- 1Step 1 — Identify Specific Circuit or Performance Code: Identify the specific circuit or performance code. Heater, WIF, and pressure faults each have different diagnostic paths.
- 2Step 2 — Measure Voltage and Resistance on Heater and Sensor Circuits: Measure voltage and resistance on heater and sensor circuits individually at the module connector.
- 3Step 3 — Check Supply Pressure Before and After Module: Check supply pressure before and after the module. Restriction across the module indicates internal filter or element issue.
- 4Step 4 — Inspect Connector for Contamination: Inspect the multi-pin connector at the module for corrosion, oil, or fuel contamination.
- 5Step 5 — Test Heater Current Draw: Test heater current draw when commanded. Compare to OEM specification. Low current indicates open element; high current indicates short.
- 6Step 6 — Verify WIF Function: Verify WIF function with drain observation. Confirm sensor responds correctly with empty bowl.
- 7Step 7 — Replace Module Only After External Circuits Proven: Replace module only after external circuits and pressure are proven. An expensive integrated unit is not condemned until all external paths are eliminated.
Unlock the full evidence-gated diagnostic sequence, DVOM test steps, and repair procedures in Technician Mode.
Full Diagnostic Access
Verification steps, preventative measures, severity guidance, and legacy comparison are available in Technician Mode.
Typical Repair Costs
Repair wiring or connector $50–150; replace heater relay if separate $30–80; replace module if internal failure confirmed $200–500; service filters and seals $80–150. Total typical $150–700.
Start Diagnosing This Fault Now
AI Diesel Tech walks you through every evidence gate in the correct order. Choose the plan that fits your shop.
Related Systems
Related Fault Codes
Related Sensor Locations
AI Diesel Tech — The Technician's Diagnostic Engine
AI Diesel Tech diagnostic logic is built by an ASE Certified Diesel Technician and engineered for professional shop use. Trusted by technicians nationwide — used in shops, fleets, and training programs.
Summary
Use the AI Diesel Tech diagnostic engine to run this code through a structured, evidence-gated sequence and get a confirmed root cause before any parts are replaced.