
Fuel Aeration Confirmation Test Standard — Air in Diesel Fuel System
Aeration is confirmed with a clear sight glass on the suction side. Eliminate all air leaks before condemning pumps or injectors.
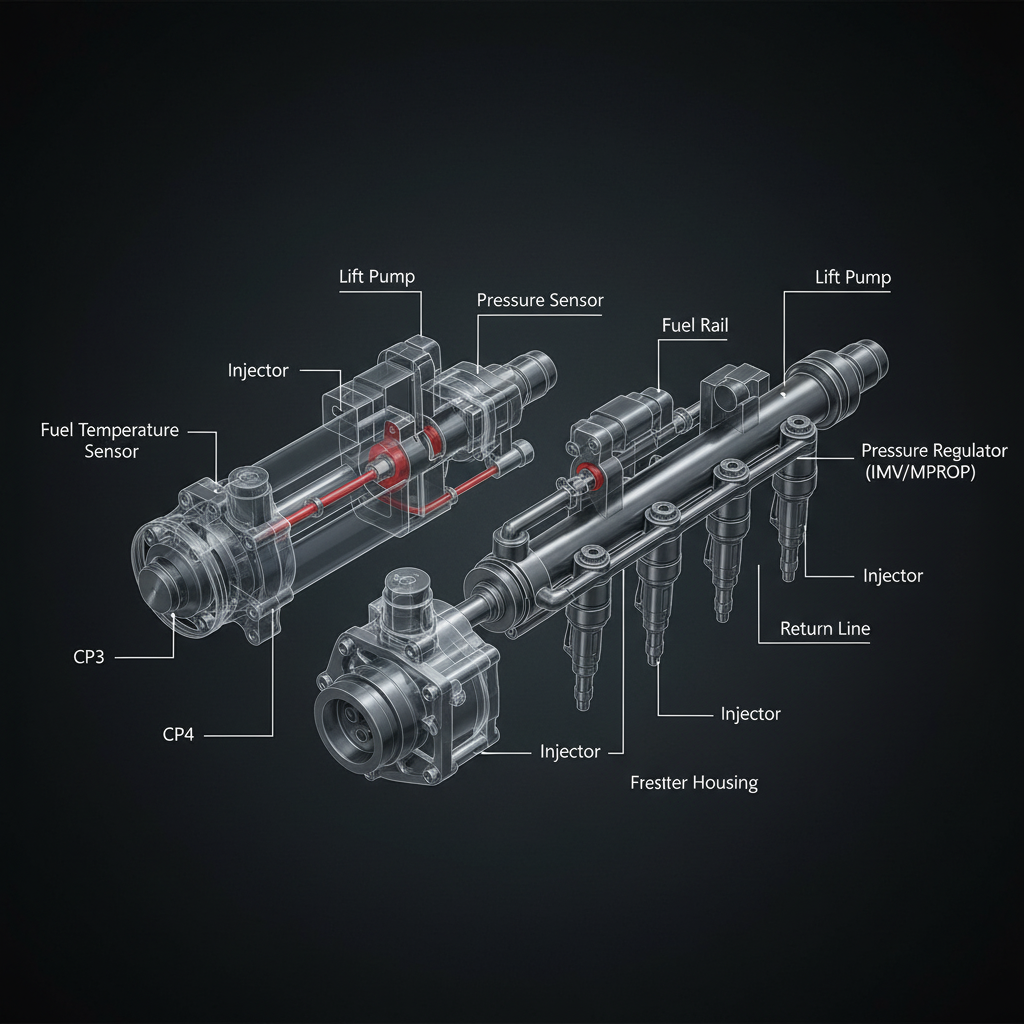
Fault Overview
System process standard for confirming air entrainment (aeration) in the low-pressure fuel system as a cause of hard starts, power loss, rail-pressure instability, or injector contribution variation.
Engine & Platform Coverage
Symptoms
- •Fuel aeration
- •Air in fuel
- •Hard start with air in system
- •Rail pressure unstable from aeration
- •Injector contribution variation
- •Foamy fuel return
Possible Causes
- 1.Loose fittings on the suction side
- 2.Cracked filter housings
- 3.Failed O-rings on suction side
- 4.Porous fuel lines
- 5.Tank pickup leaks above the fuel level
- 6.Drain valve not fully closed
Wiring & Circuit Notes
Not primary. Confirm lift pump and sensor circuits are electrically sound before aeration testing.
DVOM Specs & Sensor Tests
Clear sight glass or clear hose section on the suction side. Observe for bubbles during cranking and running. Supply pressure gauge may show fluctuating or low pressure. Rail pressure may be unstable. Return flow may appear foamy.
Diagnostic Flow — FSM Sequence
AI Diesel Tech enforces this evidence-gate sequence. Each gate must pass before advancing.
6 steps locked behind Technician Mode- 1Step 1 — Verify Lift Pump Operation and Supply Pressure: Verify lift pump operation and supply pressure with a gauge. Confirm the pump is running before aeration testing.
- 2Step 2 — Install Clear Sight Glass or Clear Hose: Install a clear sight glass or clear hose on the suction side before the lift pump or filter. This is the definitive aeration test.
- 3Step 3 — Observe for Bubbles During Crank and Run: Crank and run the engine while observing for continuous or excessive bubbles. Intermittent small bubbles may be normal; continuous streams indicate a leak.
- 4Step 4 — Check All Suction-Side Fittings and Seals: Check all suction-side fittings, filter seals, and lines for leaks. Spray with soapy water or use a UV dye if needed.
- 5Step 5 — Inspect Tank Pickup and Sending Unit O-Rings: Inspect tank pickup and sending unit O-rings. A leak above the fuel level in the tank introduces air continuously.
- 6Step 6 — Repair Leaks and Retest: Repair leaks and retest until the fuel stream is free of air. Do not proceed to high-pressure diagnosis until aeration is eliminated.
- 7Step 7 — Confirm Rail Pressure Stability: Confirm rail pressure stability after aeration is eliminated. Unstable rail pressure that resolves confirms aeration was the cause.
Unlock the full evidence-gated diagnostic sequence, DVOM test steps, and repair procedures in Technician Mode.
Full Diagnostic Access
Verification steps, preventative measures, severity guidance, and legacy comparison are available in Technician Mode.
Typical Repair Costs
Tighten or replace leaking fittings $30–80; replace cracked housing or failed O-rings $50–150; replace porous lines $80–200; service tank pickup $150–400. Total typical $50–400.
Start Diagnosing This Fault Now
AI Diesel Tech walks you through every evidence gate in the correct order. Choose the plan that fits your shop.
Related Systems
Related Sensor Locations
Common Symptoms
Related Articles
AI Diesel Tech — The Technician's Diagnostic Engine
AI Diesel Tech diagnostic logic is built by an ASE Certified Diesel Technician and engineered for professional shop use. Trusted by technicians nationwide — used in shops, fleets, and training programs.
Summary
Use the AI Diesel Tech diagnostic engine to run this code through a structured, evidence-gated sequence and get a confirmed root cause before any parts are replaced.