
Exhaust Brake Actuator Control Circuit Voltage Above Normal
High voltage on the exhaust brake actuator circuit is usually a short to power or failed actuator. Confirm electrical states and resistance first.
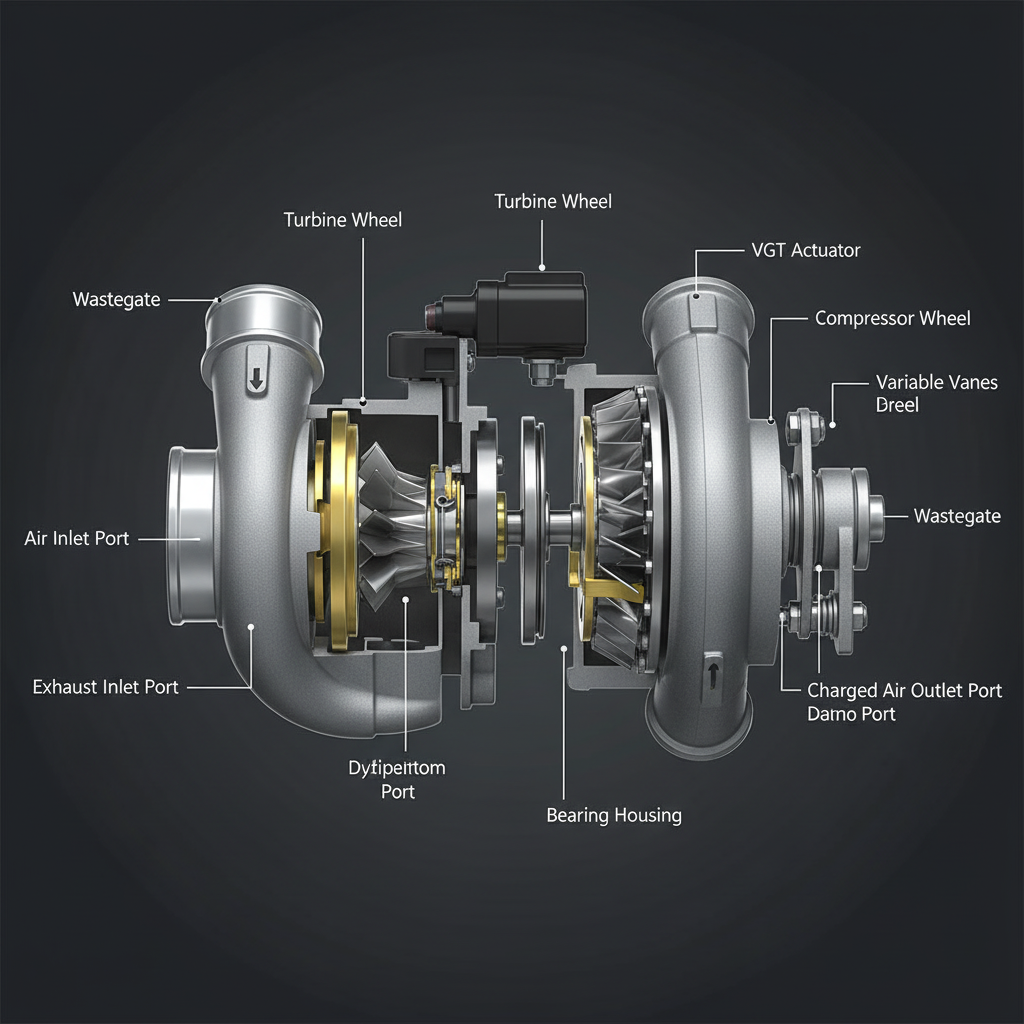
Fault Overview
Covers voltage-above-normal faults on the exhaust brake actuator control circuit (butterfly or vane-style exhaust brakes). The ECM detects high voltage on the control or feedback circuit inconsistent with the commanded state.
Engine & Platform Coverage
Symptoms
- •Exhaust brake high voltage
- •Exhaust brake stuck
- •Exhaust brake circuit fault
- •Butterfly brake won't open or close
Possible Causes
- 1.Control wire shorted to power
- 2.Failed actuator motor or solenoid shorted internally
- 3.Harness damage near the exhaust system
- 4.Incorrect actuator installed
- 5.ECM driver fault
Diagnostic Flow — FSM Sequence
AI Diesel Tech enforces this evidence-gate sequence. Each gate must pass before advancing.
5 steps locked behind Technician Mode- 1Step 1 — Identify Driver Type and Measure Control Voltage: Identify the driver type and measure control voltage in both the off and commanded states. Document and compare to expected values.
- 2Step 2 — Measure Actuator Resistance or Current Draw: Measure actuator resistance or motor current draw per OEM specification. A shorted actuator will show near-zero resistance.
- 3Step 3 — Check for Short to Power on Control Wire: Disconnect the actuator and measure voltage on the control wire. Voltage present with the actuator disconnected confirms a short to power in the harness.
- 4Step 4 — Command Actuator and Observe Mechanical Movement: Command the actuator and observe mechanical movement if safe to do so. Confirm the butterfly or vane moves to the commanded position.
- 5Step 5 — Inspect Harness for Heat Damage: Inspect the harness near the exhaust brake housing for heat damage, melting, or chafing. Heat damage is the dominant failure mode on exhaust brake circuits.
- 6Step 6 — Verify Position Sensor Correlation: If a position sensor is equipped, verify the feedback signal tracks the commanded position.
Unlock the full evidence-gated diagnostic sequence, DVOM test steps, and repair procedures in Technician Mode.
Repair Steps
2 steps locked- 1Repair shorted wire.
- 2Replace heat-damaged harness section.
- 3Replace failed actuator.
- 4Install updated heat protection if available per service information.
Unlock full diagnostic steps, DVOM tests, and repair procedures.
Full Diagnostic Access
Verification steps, preventative measures, severity guidance, and legacy comparison are available in Technician Mode.
Start Diagnosing This Fault Now
AI Diesel Tech walks you through every evidence gate in the correct order. Choose the plan that fits your shop.
Related Resources
Related Fault Codes
Related Systems
Related Fault Codes
Related Sensor Locations
Common Symptoms
Related Articles
AI Diesel Tech — The Technician's Diagnostic Engine
AI Diesel Tech diagnostic logic is built by an ASE Certified Diesel Technician and engineered for professional shop use. Trusted by technicians nationwide — used in shops, fleets, and training programs.
Summary
High voltage on the exhaust brake actuator circuit is usually a short to power or failed actuator. Confirm electrical states and resistance first.