
SPN 1081 FMI 3 — Wait-to-Start Lamp Circuit Voltage Above Normal
High voltage on the wait-to-start lamp circuit requires driver-type identification and state testing before any module replacement.
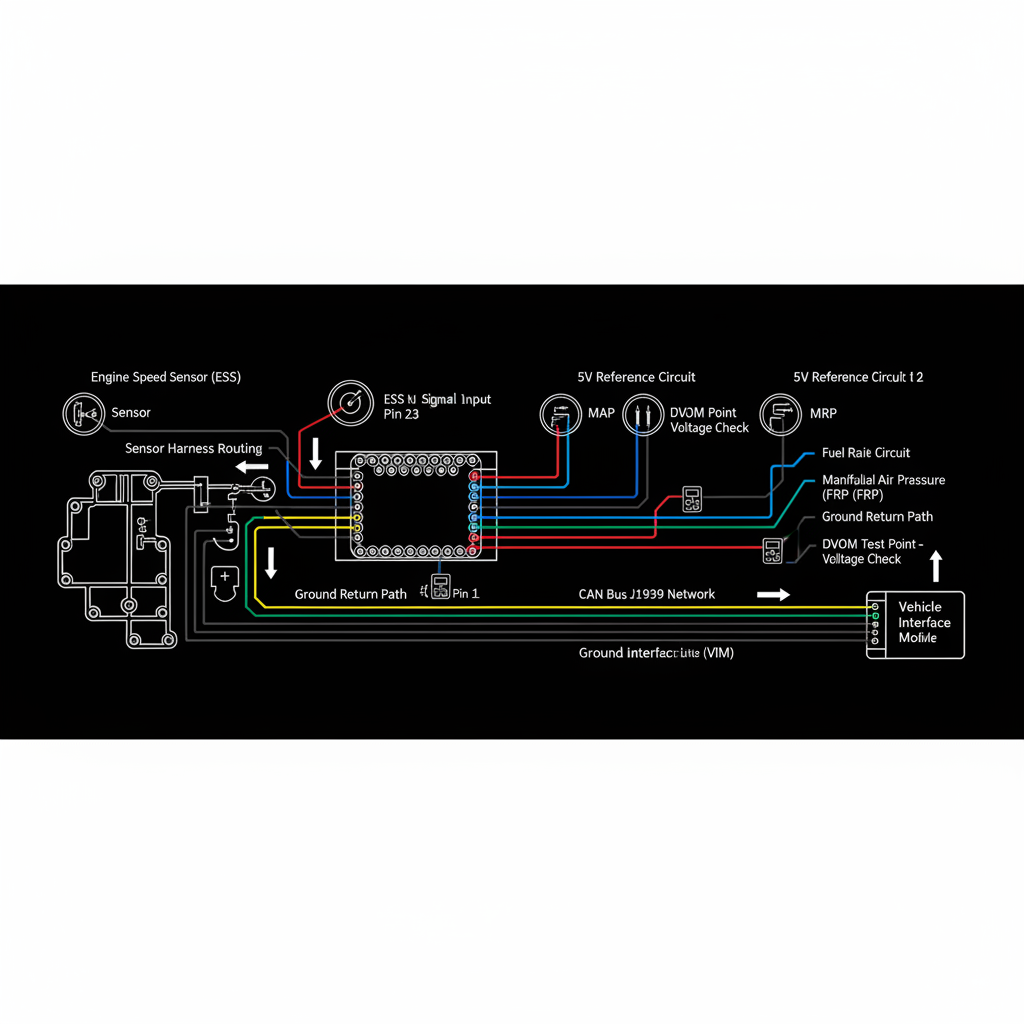
Fault Overview
SPN 1081 is the Wait-to-Start lamp. FMI 3 indicates voltage above normal on the lamp control circuit, typically a short to power or open that allows high voltage when the driver expects a different state.
Engine & Platform Coverage
Symptoms
- •Wait-to-start lamp high voltage fault active
- •Glow plug light stuck on
- •Wait-to-start circuit fault
- •Lamp illuminated continuously
Possible Causes
- 1.Control wire shorted to battery voltage
- 2.Lamp circuit open (depending on driver type)
- 3.Failed bulb or LED causing abnormal voltage
- 4.Instrument cluster issue
- 5.ECM driver fault
Diagnostic Flow — FSM Sequence
AI Diesel Tech enforces this evidence-gate sequence. Each gate must pass before advancing.
4 steps locked behind Technician Mode- 1Step 1 — Identify Driver Type: Determine whether the lamp uses a high-side driver (ECM supplies voltage to illuminate) or low-side driver (ECM pulls to ground to illuminate). This determines what voltage states are expected in each commanded condition.
- 2Step 2 — Measure Voltage at Lamp Control with Lamp Connected and Disconnected: Measure voltage at the lamp control circuit in both commanded states with the lamp connected and disconnected. Voltage change when disconnecting the lamp helps isolate whether the abnormal voltage is from the lamp load or the wiring.
- 3Step 3 — Check Bulb/LED Integrity: Measure bulb resistance or LED forward voltage. An open bulb on a low-side driven circuit can set a high-voltage code because the circuit never pulls down.
- 4Step 4 — Inspect Wiring for Short to Power: With the lamp disconnected, measure voltage on the control wire. Voltage present when the ECM is not commanding indicates a short to battery voltage in the harness.
- 5Step 5 — Verify ECM Command via Scan Data: Confirm ECM command state via scan tool data if available. Compare commanded state to measured voltage to identify whether the fault is in the ECM output or the external circuit.
Unlock the full evidence-gated diagnostic sequence, DVOM test steps, and repair procedures in Technician Mode.
Repair Steps
2 steps locked- 1Repair shorted control wire with battery voltage feed.
- 2Replace failed bulb or LED assembly.
- 3Repair cluster printed circuit if confirmed as source.
- 4Repair ECM driver circuit only after external circuit is proven good.
Unlock full diagnostic steps, DVOM tests, and repair procedures.
Full Diagnostic Access
Verification steps, preventative measures, severity guidance, and legacy comparison are available in Technician Mode.
Start Diagnosing This Fault Now
AI Diesel Tech walks you through every evidence gate in the correct order. Choose the plan that fits your shop.
Related Resources
Related Fault Codes
Related Systems
Related Fault Codes
Related Sensor Locations
Common Symptoms
Related Articles
AI Diesel Tech — The Technician's Diagnostic Engine
AI Diesel Tech diagnostic logic is built by an ASE Certified Diesel Technician and engineered for professional shop use. Trusted by technicians nationwide — used in shops, fleets, and training programs.
Summary
High voltage on the wait-to-start lamp circuit requires driver-type identification and state testing before any module replacement.