
Battery Cable Voltage-Drop Testing for Intermittent No-Crank
Most intermittent no-crank complaints need voltage-drop testing before starter replacement. Repeated starter replacements that never fixed high-resistance cables are the most documented misdiagnosis pattern in diesel starting system diagnosis.
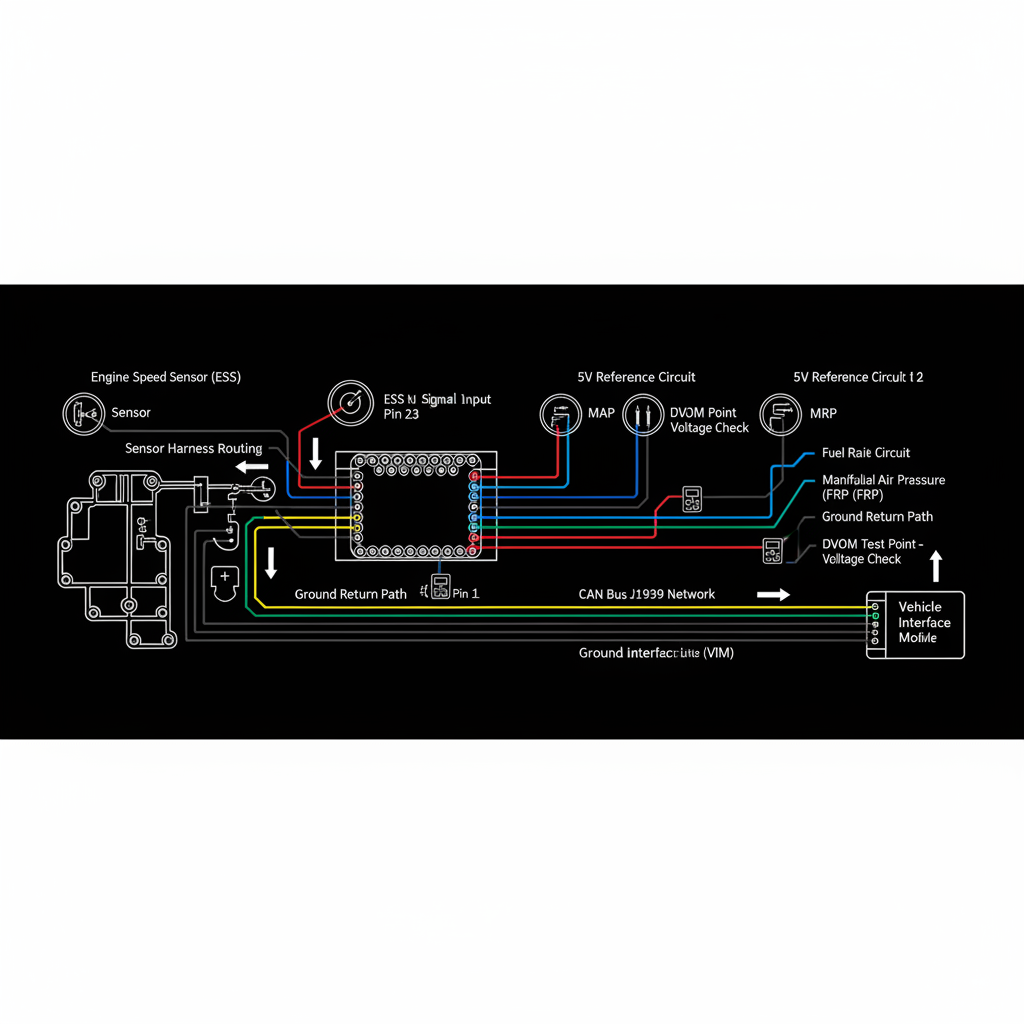
Fault Overview
Intermittent no-crank events from high-resistance battery cables produce the same symptoms as a failed starter — slow crank, single click, or no crank. Corroded terminals, undersized or damaged cables, poor frame grounds, and hidden resistance at splices are the primary causes. Repeated starter replacements that never fixed high-resistance cables are a documented pattern. Voltage-drop testing during cranking identifies high-resistance sections that are invisible to visual inspection and resistance measurement at rest — the resistance only appears under the high current draw of cranking.
Engine & Platform Coverage
Symptoms
- •Intermittent no-crank or slow crank
- •Single click on crank attempt
- •Starter clicks but engine does not crank
- •Weak crank speed
- •No-crank after heat soak
Possible Causes
- 1.Corroded terminals — terminal corrosion producing high resistance under load
- 2.Undersized or damaged cables — cable damage or undersizing producing high resistance
- 3.Poor frame grounds — poor frame ground connection producing high resistance in negative path
- 4.Hidden resistance at splices — splice resistance invisible at rest but present under load
Diagnostic Flow — FSM Sequence
AI Diesel Tech enforces this evidence-gate sequence. Each gate must pass before advancing.
6 steps locked behind Technician Mode- 1Step 1 — Load-Test Batteries: Load-test batteries before any cable or starter diagnosis. Weak batteries produce slow crank and no-crank symptoms that are identical to high-resistance cable faults. Confirm battery capacity meets specification under load. Replace batteries that fail the load test before any further diagnosis.
- 2Step 2 — Measure Cranking Voltage at Battery and Starter: Measure cranking voltage at the battery posts and at the starter motor simultaneously during a crank attempt. A significant voltage difference between the battery and the starter confirms voltage drop in the positive cable path. A cranking voltage at the battery that is below specification confirms weak batteries.
- 3Step 3 — Voltage-Drop Positive Path: Measure voltage drop on the positive cable path during cranking. Place the DVOM positive lead at the battery positive post and the negative lead at the starter positive terminal. Voltage drop on the positive path should be low — follow OEM specifications when provided; a practical rule of thumb is under approximately 0.5V per major path segment. A reading above the specification confirms high resistance in the positive path.
- 4Step 4 — Voltage-Drop Negative Path: Measure voltage drop on the negative cable path during cranking. Place the DVOM positive lead at the starter case or engine block and the negative lead at the battery negative post. Voltage drop on the negative path should be low — follow OEM specifications when provided. A reading above the specification confirms high resistance in the negative path. Poor frame grounds are a common source of negative path voltage drop.
- 5Step 5 — Identify High-Resistance Section: Identify the specific high-resistance section by measuring voltage drop across each segment of the positive and negative paths. Measure across each cable, terminal, and connection point. The segment with the highest voltage drop is the high-resistance section requiring repair.
- 6Step 6 — Repair High-Resistance Section: Repair the identified high-resistance section. Terminal service — cleaning or replacement — corrects corroded terminal resistance. Cable replacement corrects damaged or undersized cable resistance. Ground eyelet repair or replacement corrects poor frame ground resistance.
- 7Step 7 — Verify After Repair: Verify voltage drop meets specification after repair. Repeat voltage-drop tests on all paths after repair to confirm the high-resistance section is corrected. Confirm crank speed and starting performance are normal after repair.
Unlock the full evidence-gated diagnostic sequence, DVOM test steps, and repair procedures in Technician Mode.
Repair Steps
2 steps locked- 1Service or replace corroded battery terminals.
- 2Replace damaged or undersized cables.
- 3Repair or replace poor frame ground eyelets.
- 4Repair high-resistance splices in positive or negative paths.
Unlock full diagnostic steps, DVOM tests, and repair procedures.
Full Diagnostic Access
Verification steps, preventative measures, severity guidance, and legacy comparison are available in Technician Mode.
Start Diagnosing This Fault Now
AI Diesel Tech walks you through every evidence gate in the correct order. Choose the plan that fits your shop.
Related Resources
Related Fault Codes
Related Systems
Related Fault Codes
Related Sensor Locations
Common Symptoms
Related Articles
AI Diesel Tech — The Technician's Diagnostic Engine
AI Diesel Tech diagnostic logic is built by an ASE Certified Diesel Technician and engineered for professional shop use. Trusted by technicians nationwide — used in shops, fleets, and training programs.
Summary
Most intermittent no-crank complaints need voltage-drop testing before starter replacement. The AI Diesel Tech FSM enforces measurement-based starting system diagnosis.