
Aftermarket Device Interference with Transmission and Engine Speed Data
ELD and telematics installations are a frequent source of intermittent speed and communication codes. Performance modules that alter torque messages commonly disturb transmission shift scheduling. Isolate all aftermarket devices before diagnosing OEM components.
Fault Overview
Aftermarket devices can inject incorrect speed or torque messages, draw excessive current, create voltage drops, add improper terminations, or introduce grounding issues. Systematic isolation prevents extensive OEM module and sensor diagnosis when the root cause is an add-on device.
Engine & Platform Coverage
Symptoms
- •aftermarket speed interference
- •ELD transmission codes
- •telematics shift problem
- •performance module speed conflict
- •J1939 aftermarket device
Possible Causes
- 1.Device injecting incorrect speed or torque messages
- 2.Device drawing excessive current or creating voltage drops
- 3.Improper termination or network loading
- 4.Grounding issues introduced by the device
- 5.Software conflicts
Wiring & Circuit Notes
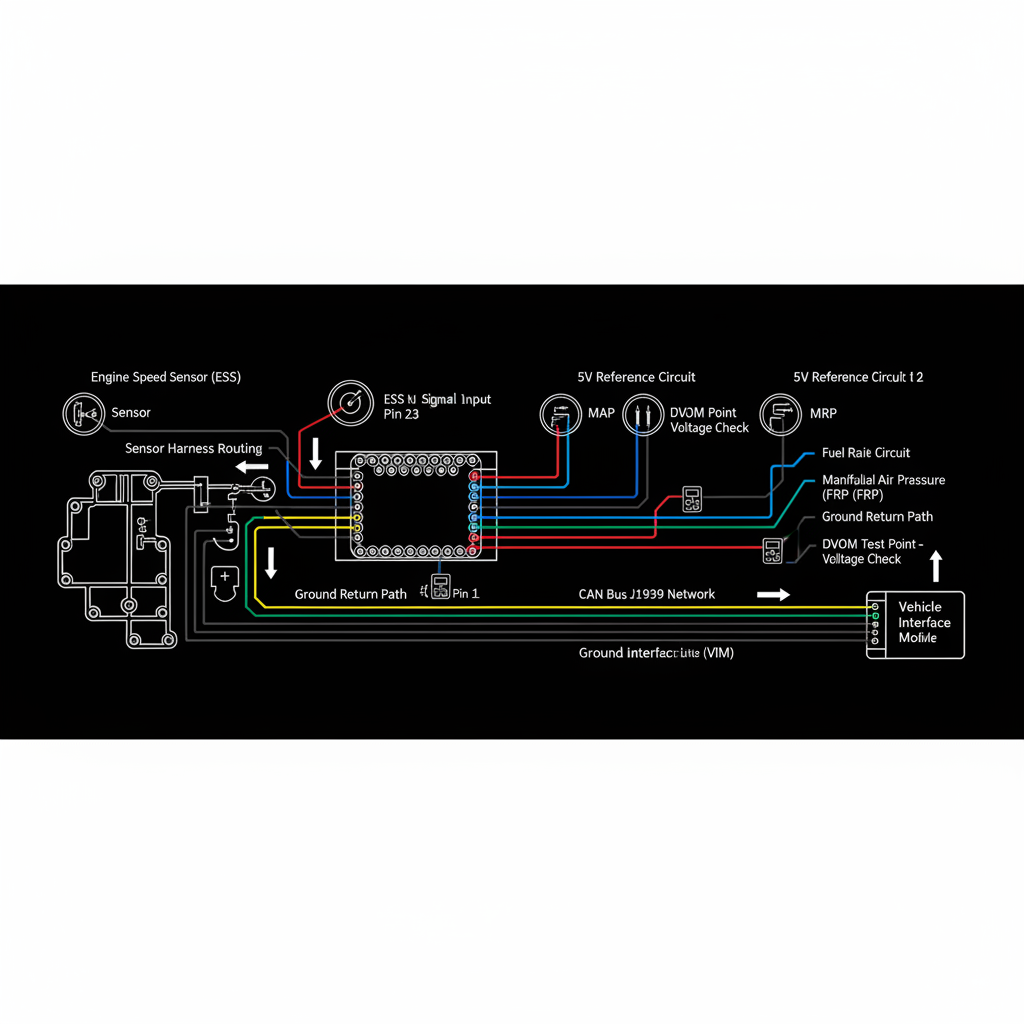
Identify all aftermarket connections to the diagnostic connector, J1939 backbone, or individual speed sensors. Check for poor splices and added terminations.
DVOM Specs & Sensor Tests
Speed and torque data with the aftermarket device connected vs isolated. Network error counters. Voltage stability on the datalink.
Diagnostic Flow — FSM Sequence
AI Diesel Tech enforces this evidence-gate sequence. Each gate must pass before advancing.
5 steps locked behind Technician Mode- 1Step 1 — Identify All Aftermarket Devices on the Network or Speed Circuits: Identify all aftermarket devices connected to the J1939 backbone, diagnostic connector, or individual speed sensor circuits.
- 2Step 2 — Record Speed and Torque Data and Any Codes with Devices Connected: Record speed and torque data and all active codes with all aftermarket devices connected.
- 3Step 3 — Disconnect Aftermarket Devices One at a Time and Retest: Disconnect aftermarket devices one at a time (or all at once) and retest. Note whether the fault disappears.
- 4Step 4 — If the Fault Disappears, the Device or Its Installation Is the Cause: If the fault disappears with a device disconnected, that device or its installation is the cause.
- 5Step 5 — Correct the Installation, Update Device Software, or Remove the Device: Correct the installation, update device software, or remove the interfering device.
- 6Step 6 — Confirm Normal Operation with Only OEM Modules on the Network: Confirm normal operation with only OEM modules on the network before reinstalling any aftermarket devices.
Unlock the full evidence-gated diagnostic sequence, DVOM test steps, and repair procedures in Technician Mode.
Full Diagnostic Access
Verification steps, preventative measures, severity guidance, and legacy comparison are available in Technician Mode.
Typical Repair Costs
Correct aftermarket wiring or termination $50–200; update or reconfigure the device $0–200; remove the interfering device $0; repair any damaged OEM wiring $80–300.
Start Diagnosing This Fault Now
AI Diesel Tech walks you through every evidence gate in the correct order. Choose the plan that fits your shop.
AI Diesel Tech — The Technician's Diagnostic Engine
AI Diesel Tech diagnostic logic is built by an ASE Certified Diesel Technician and engineered for professional shop use. Trusted by technicians nationwide — used in shops, fleets, and training programs.
Summary
Use the AI Diesel Tech diagnostic engine to run this code through a structured, evidence-gated sequence and get a confirmed root cause before any parts are replaced.